Windows10 のセキュリティーアプリ「Windows セキュリティ」のデバイスセキュリティの設定方法を紹介します。
コア分離のメモリ整合性を「オン」にすると、攻撃によって悪意のあるコードが高セキュリティ プロセスに挿入されるのを防ぎます。
コア分離のメモリ整合性を [オン] にする方法は?
Windows 10 コア分離のメモリ整合性を [オン] にする方法は次の手順です。
-
[Windows セキュリティ] を起動する
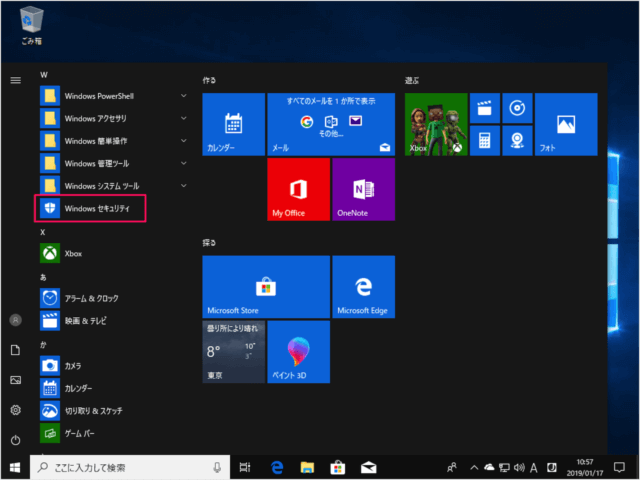
スタートメニューから「Windows セキュリティ」を起動します。 -
[デバイス セキュリティ] を選択する

「Windows セキュリティ」です。 [デバイス セキュリティ] をクリックしましょう。 -
[コア分離の詳細] を選択する
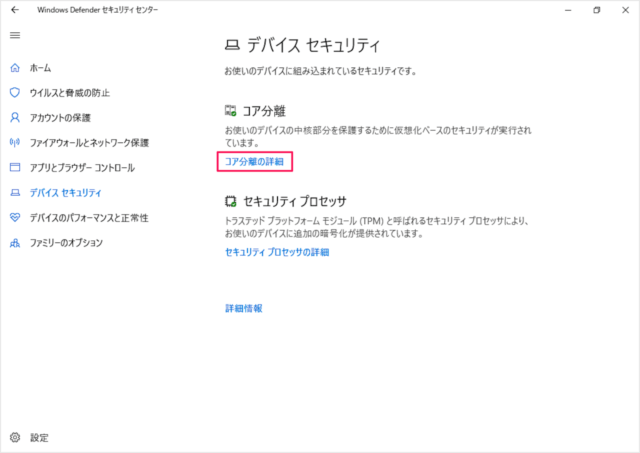
デバイスセキュリティです。 [コア分離の詳細] をクリックします。コア分離
お使いのデバイスの中核部分を保護するために仮想化ベースのセキュリティが実行されます。 -
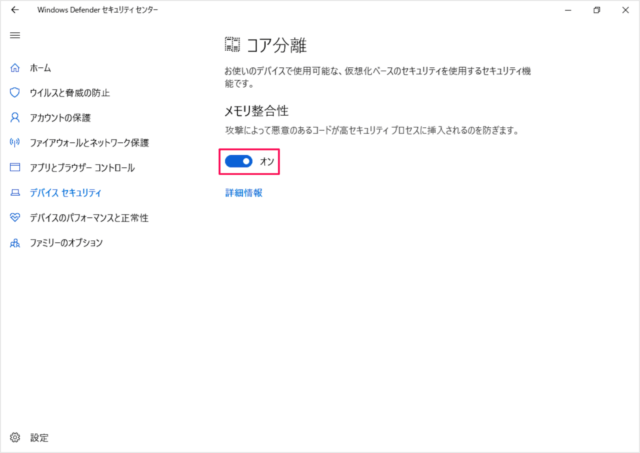
メモリ整合性を [オン] にする
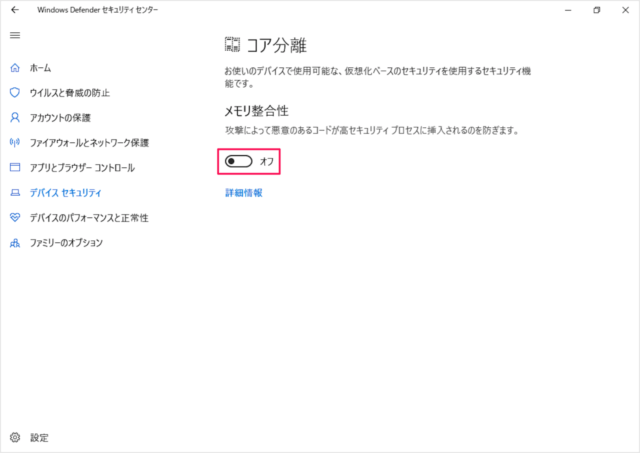
コア分離です。メモリ整合性を [オン] にしましょう。攻撃によって悪意のあるコードが高セキュリティ プロセスに挿入されるのを防ぎます。
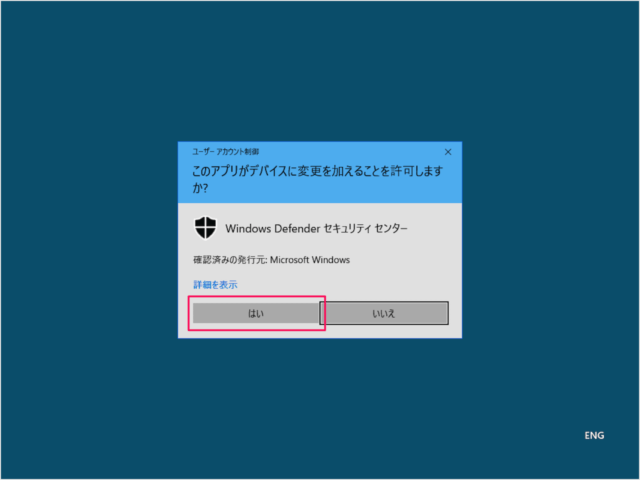
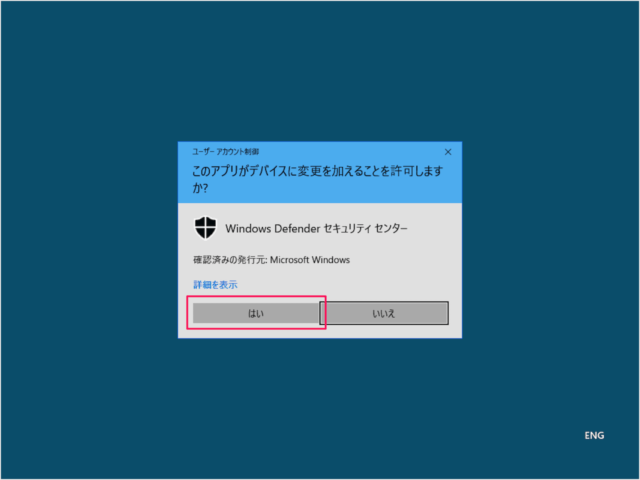
ユーザーアカウント制御が表示されたら、 [はい] をクリックしましょう。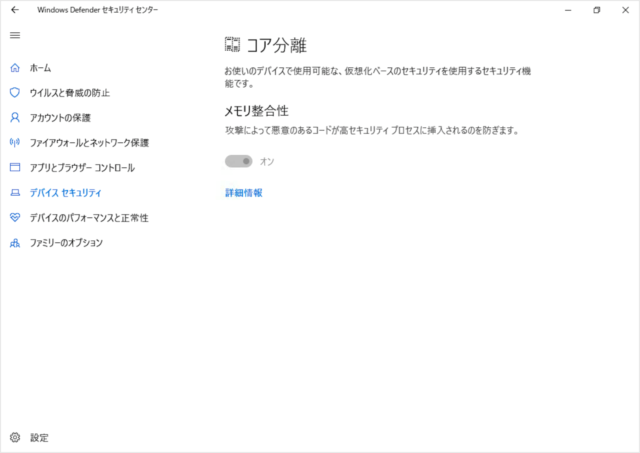
これでメモリ整合性が [オン] になりました。 -
コンピューターを再起動する
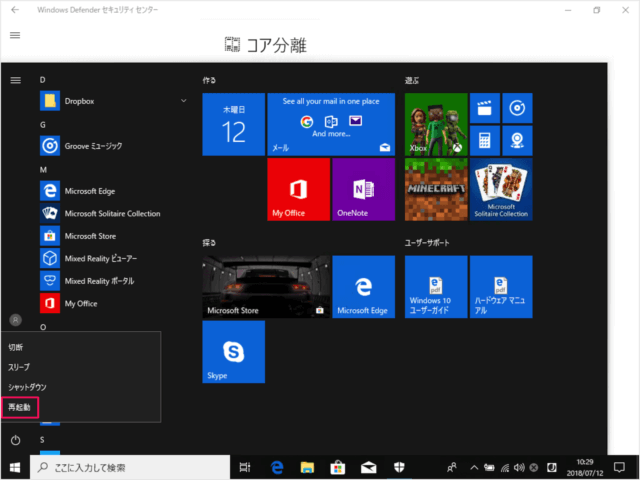
設定を再起動するためにコンピューターを再起動しましょう。
これで Windows 10 コア分離のメモリ整合性を [オン] にする方法の解説は終了です。
コア分離のメモリ整合性を [オフ] にする方法は?
Windows 10 コア分離のメモリ整合性を [オフ] にする方法は次の手順です。
スタートメニューから「Windows セキュリティ」を起動します。
「Windows セキュリティ」です。 [デバイス セキュリティ] をクリックしましょう。
デバイスセキュリティです。 [コア分離の詳細] をクリックします。
メモリ整合性を [オフ] にしましょう。
ユーザーアカウント制御が表示されたら [はい] をクリックしましょう。
デバイス保護の変更を適用するために「再起動」しましょう。
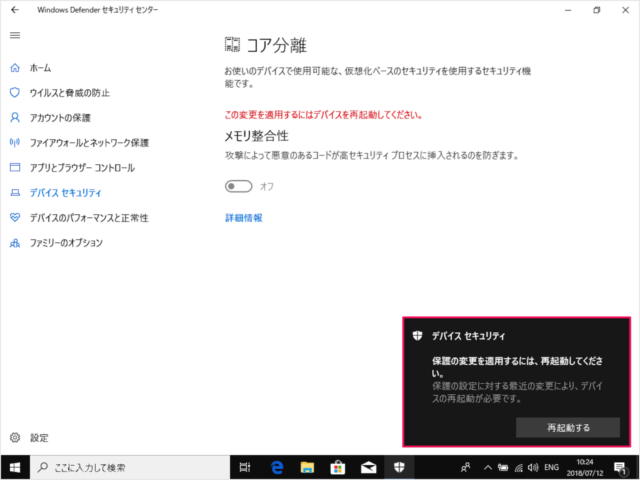
これでメモリ整合性が [オフ] になりました。