Macアプリ「Microsoft Outlook」に登録したアカウントの説明を変更する方法を紹介します。
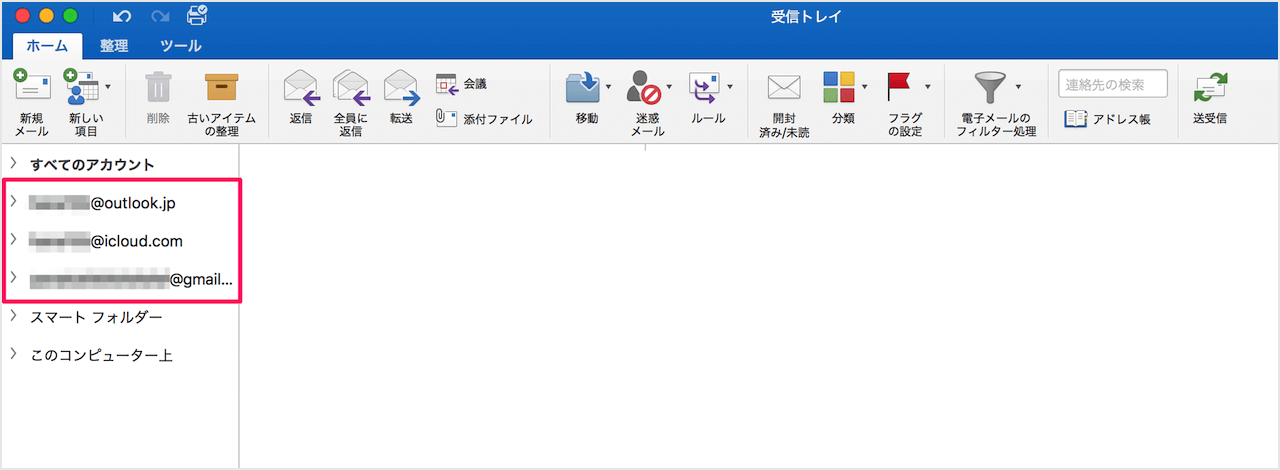
デフォルトでは、このようにメールアドレスがそのまま表示されていますが
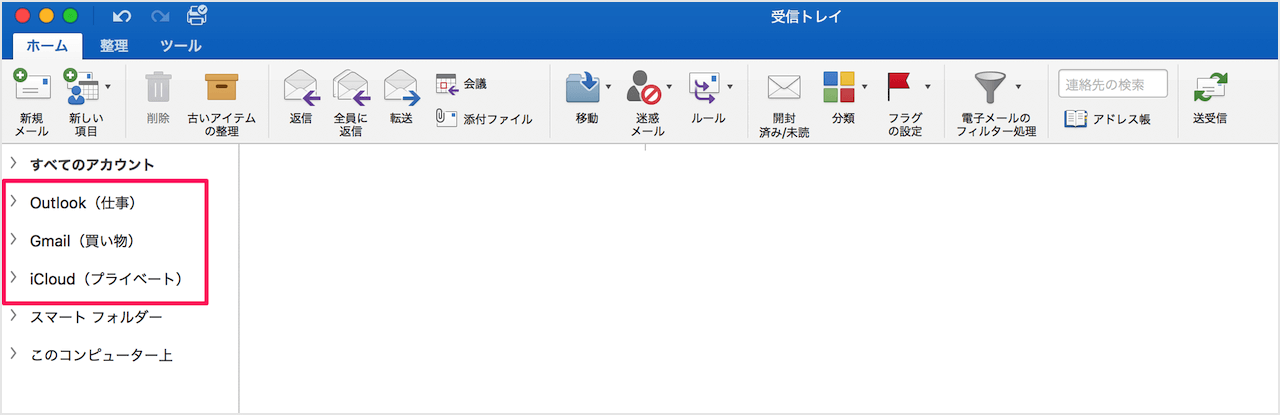
「アカウントの説明」を変更することで

このようにメールごとに分かりやすくすることができます。
Macアプリ「Microsoft Outlook」 - アカウントの説明を変更
それでは実際にアカウントの説明を変更してみましょう。

Macアプリ「Microsoft Outlook」を起動し
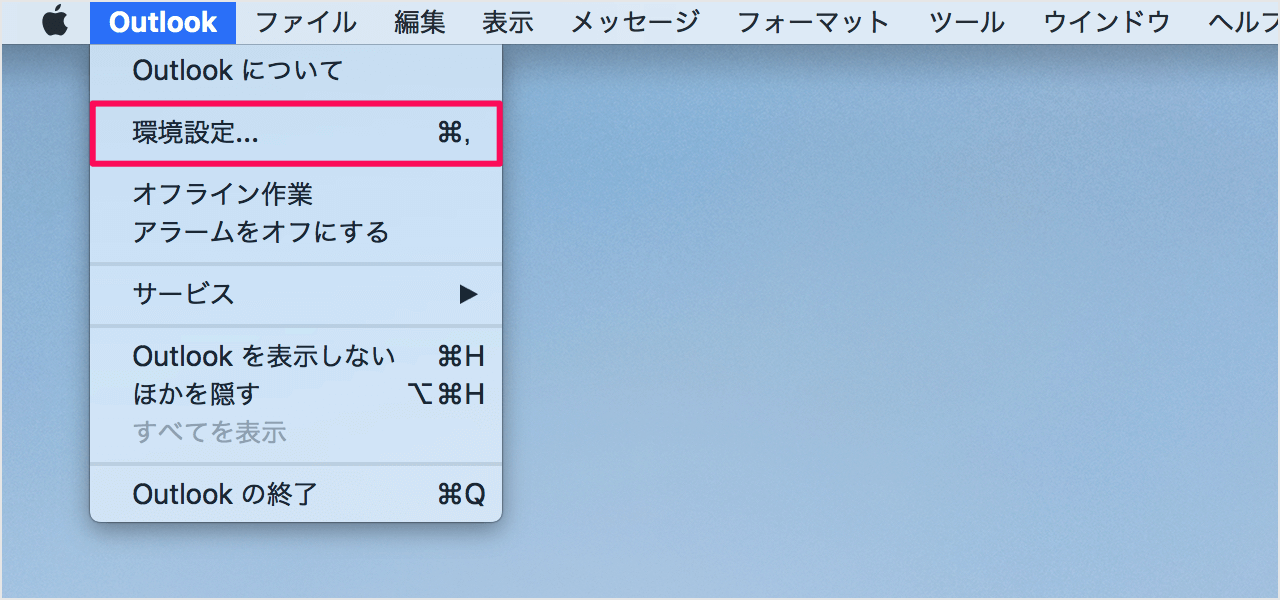
上部メニュー「Outlook」から「環境設定」をクリックしましょう。

Outlook 環境設定です。
「アカウント」をクリックしましょう。
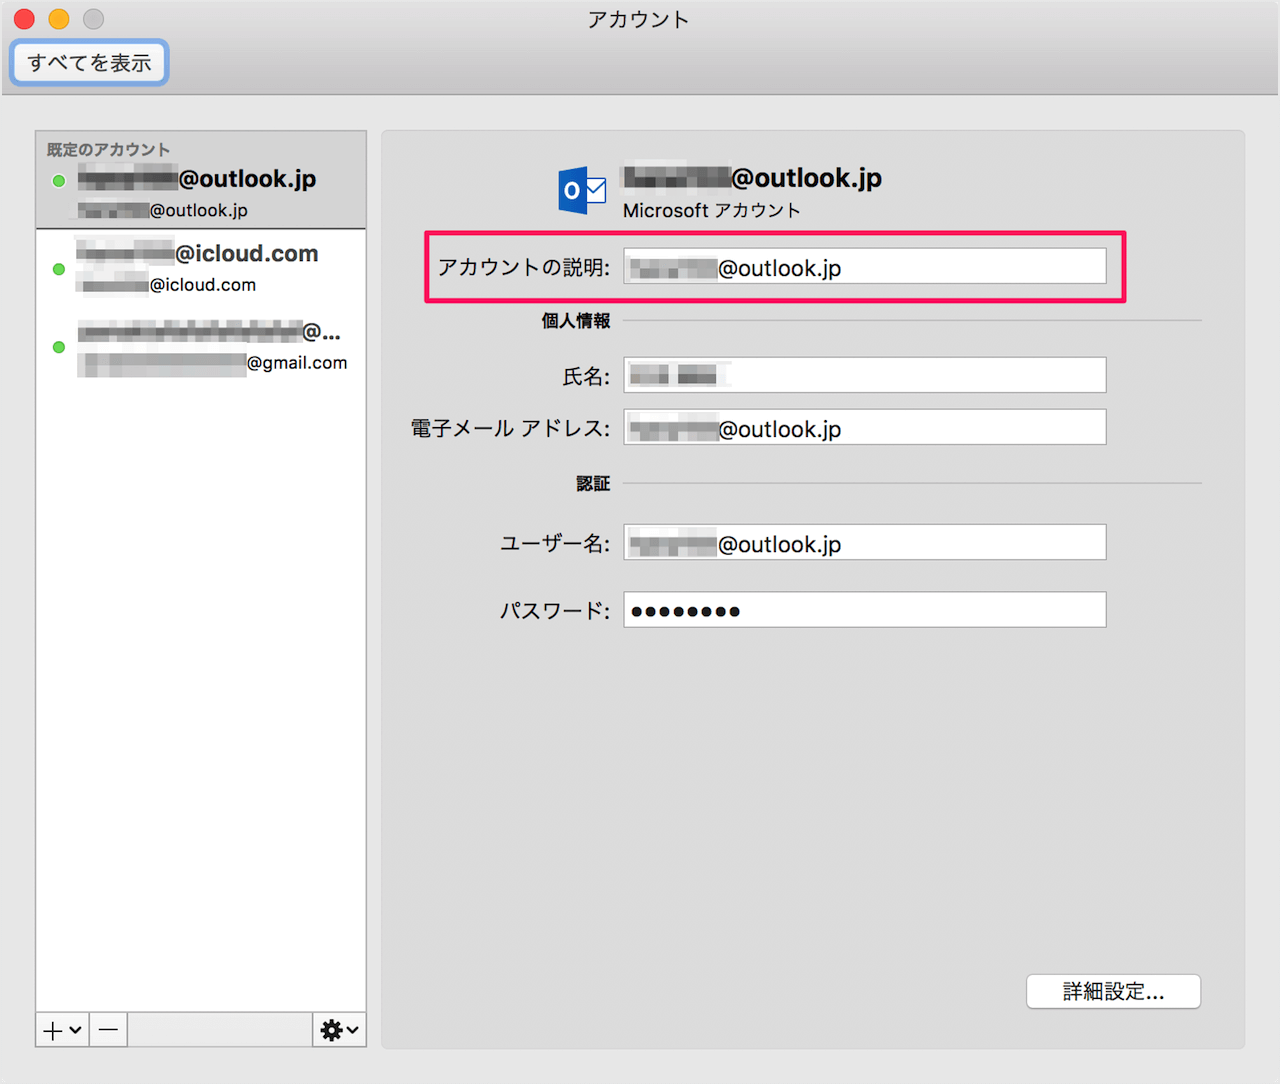
すると、登録しているアカウントが表示されるので
「アカウントの説明」を

お好みで修正しましょう。
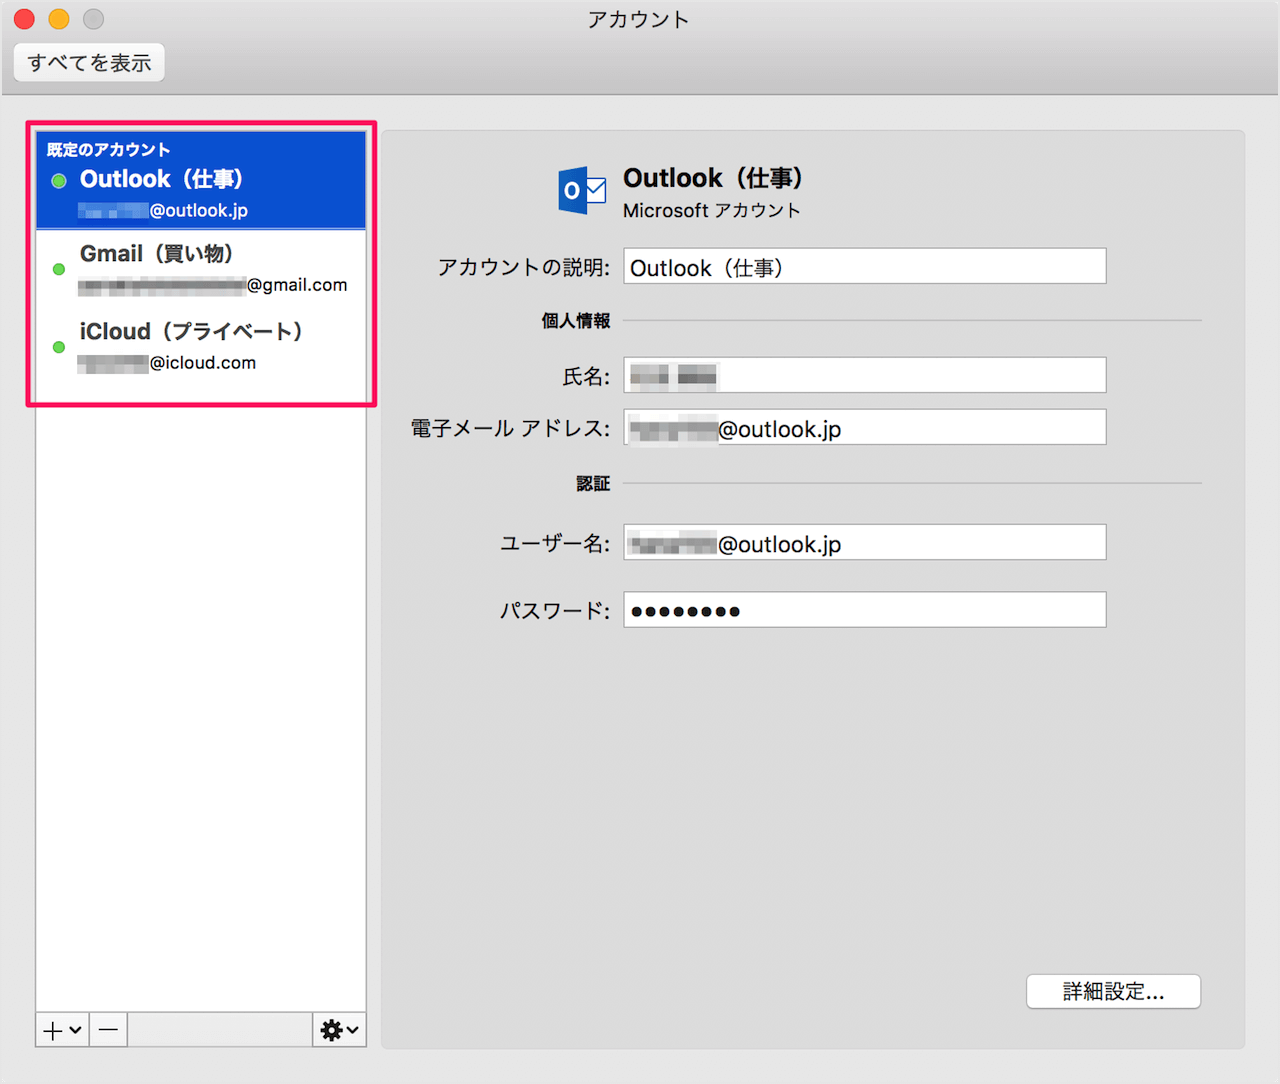
すると、このようにアカウントの説明が変更されます。
こちらもこのように変更されます。