
目次
Windows Media Player の音楽ファイルの保存場所を確認・変更する方法を紹介します。
Windows Media Player を使用すると、CD から曲や音楽を取り込んでパソコンに保存することができます。
ということで、ここでは Windows Media Player に取り込んだ音楽ファイルの場所を確認する方法と、場所を変更する方法についてみていきましょう。
音楽ファイルの保存場所を確認・変更する方法は?
Windows Media Player 音楽ファイルの保存場所を確認・変更する方法は次の手順です。
-
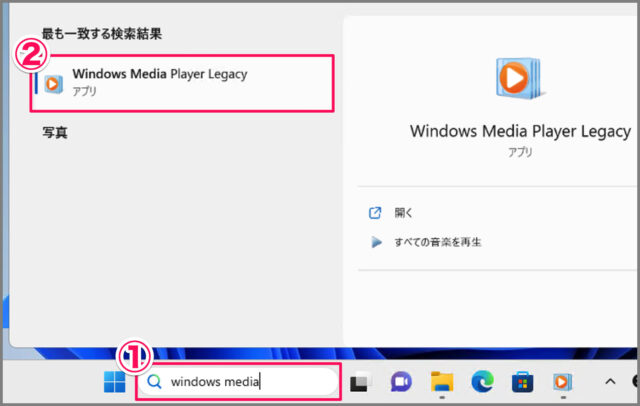
[Windows Media Player] を起動する

- 検索ボックスに [windows media] と入力し
- [Windows Media Player] を起動します。
Windows Media Player のインストールはこちらをご覧ください。
Windows 11 Windows Media Playerをインストールする -
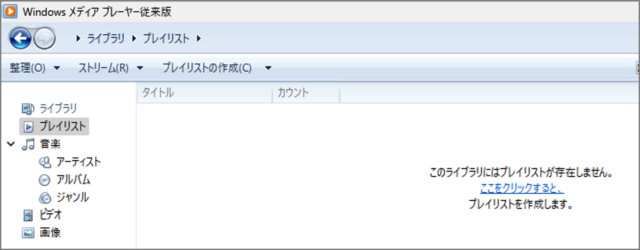
[Alt] キーを押す

Windows Media Player です。[Alt] キーを押しましょう。
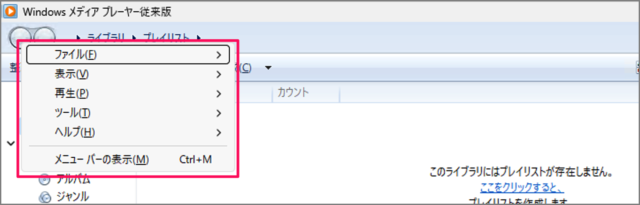
すると、メニューが表示されます。 -
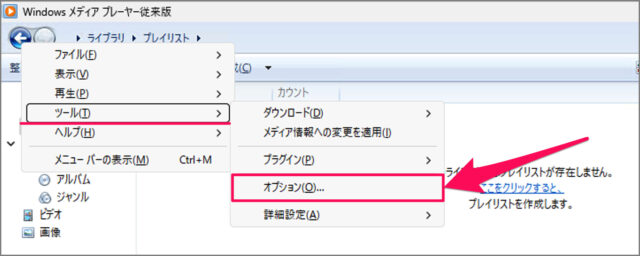
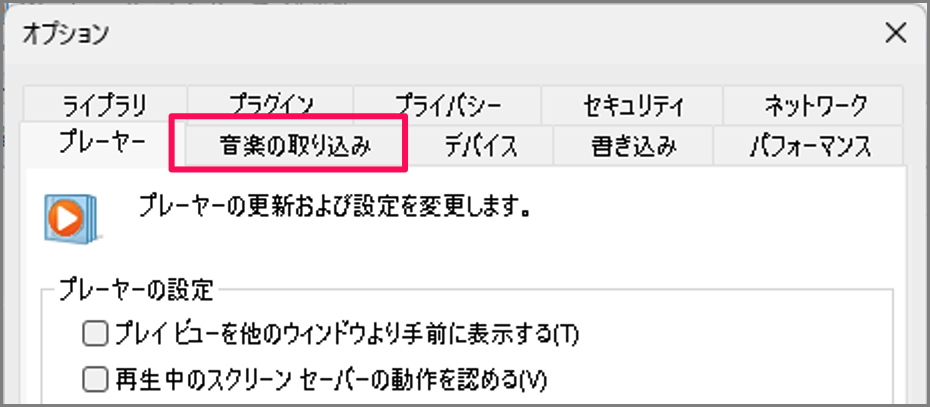
[ツール] → [オプション] を選択する

メニューの [ツール] → [オプション] を選択しましょう。 -
[音楽の取り込み] を選択する

オプションが表示されたら、[音楽の取り込み] を選択しましょう。 -
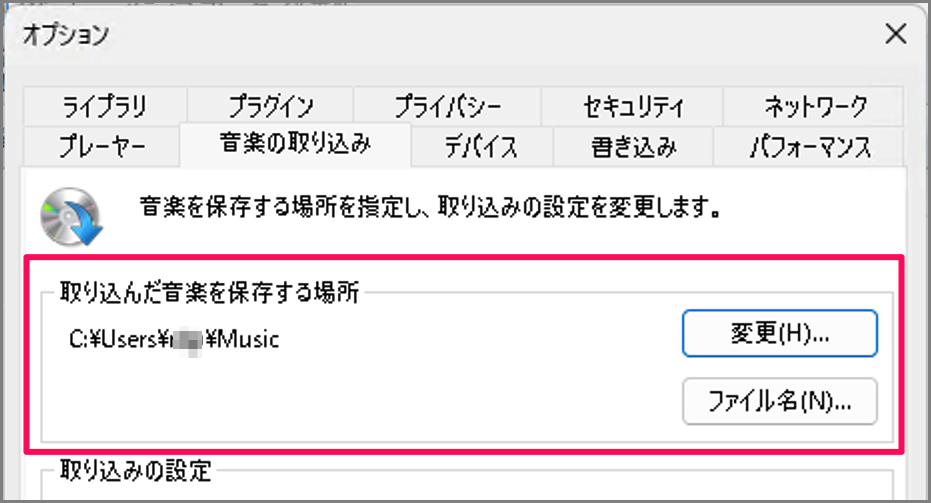
音楽ファイルの保存場所を確認する
[取り込んだ音楽を保存する場所] を確認しましょう。デフォルトの保存場所は次の場所です。C:\Users\ユーザー名\Music -
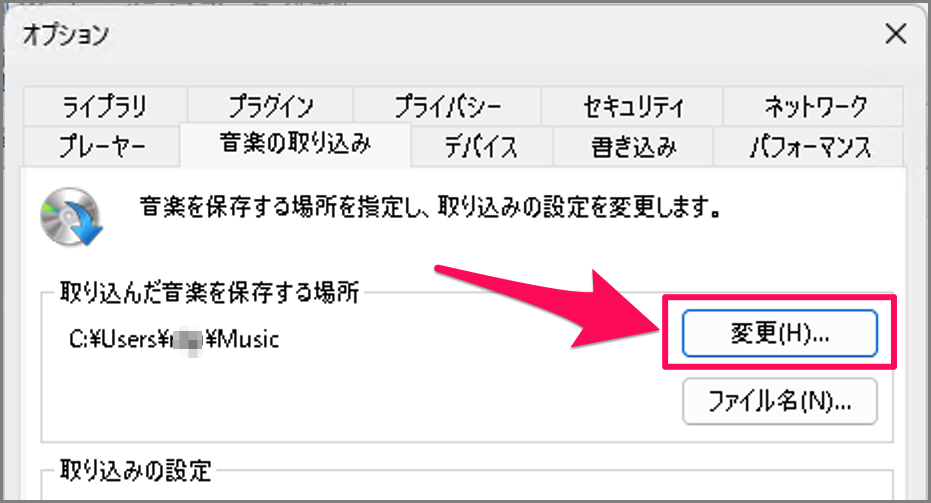
音楽ファイルの保存場所を変更する
[変更] をクリックします。
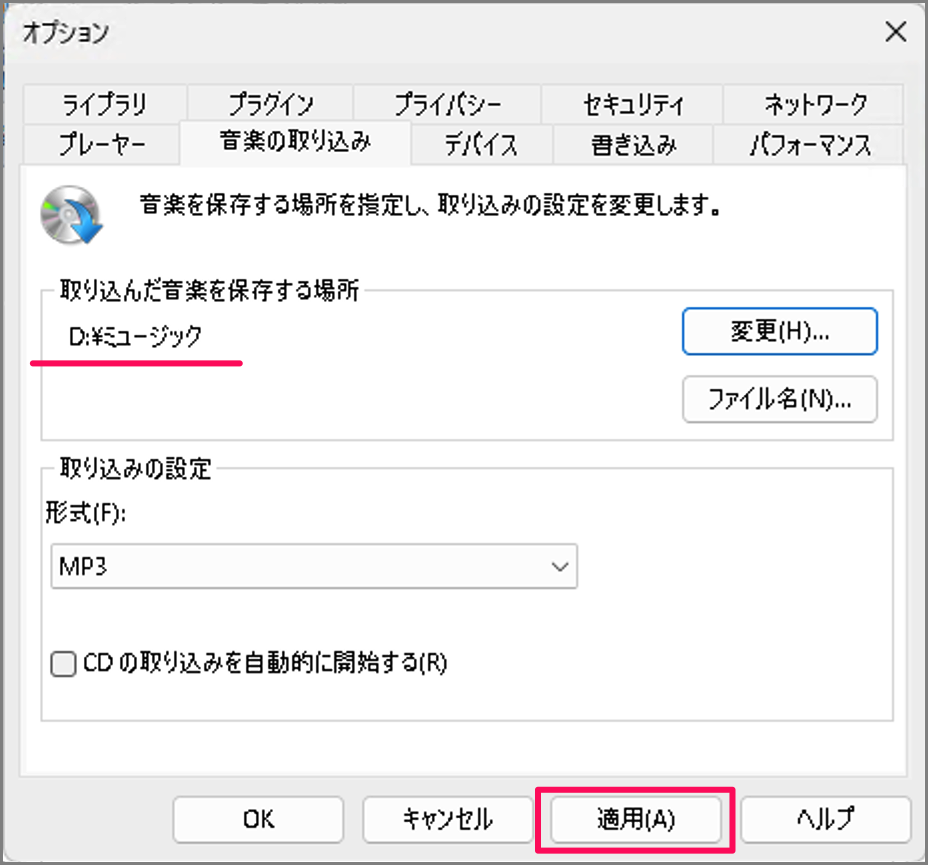
音楽を保存するフォルダーを選択し、[OK] をクリックします。
保存場所を確認し、[適用] をクリックしましょう。

これで Windows Media Player 音楽ファイルの保存場所を確認・変更する方法の解説は終了です。