目次
Windows 11 に接続しているプリンターの名前を変更する方法を紹介します。
接続したプリンター名は大抵の場合「型番」になっていますが、例えば「2階のプリンター」「リビングのプリンター」などの変更することができます。
ここでは Windows 11 の [設定] [コントロールパネル] からプリンターの名前を変更する方法をみていきます。
プリンターの名前を変更する方法は?
Windows 11 のプリンターの名前を変更する方法は次の手順です。
-
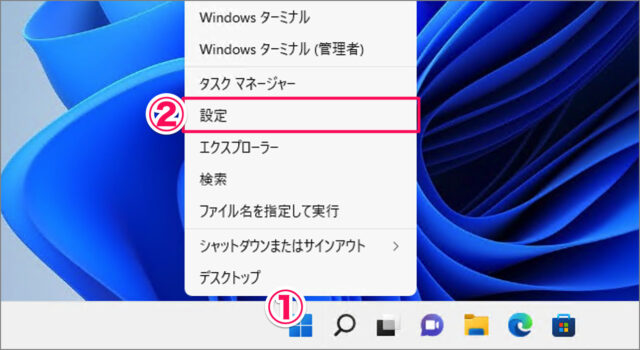
[設定] を起動する

- [スタートボタン] を右クリックし
- [設定] を選択します。
[設定] を起動する方法はいくつかあります。詳しくは、Windows 11 「Windowsの設定」を起動する方法をご覧ください。
-
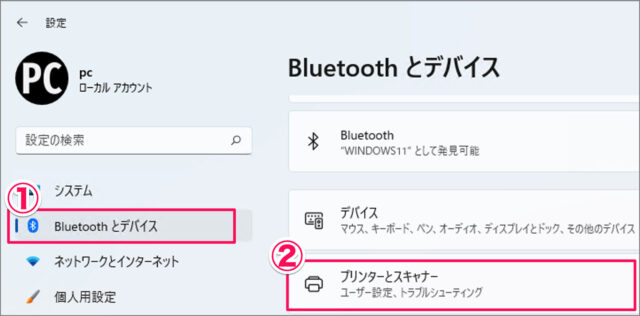
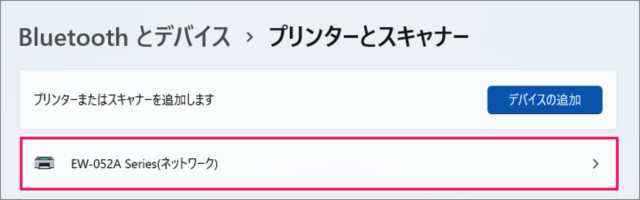
[Bluetooth とデバイス] → [プリンターとスキャナー] を選択する。

- 設定の左メニュー [Bluetooth とデバイス] を選択し
- [プリンターとスキャナー] をクリックします。
-
名前を変更する [プリンター] を選択する

-
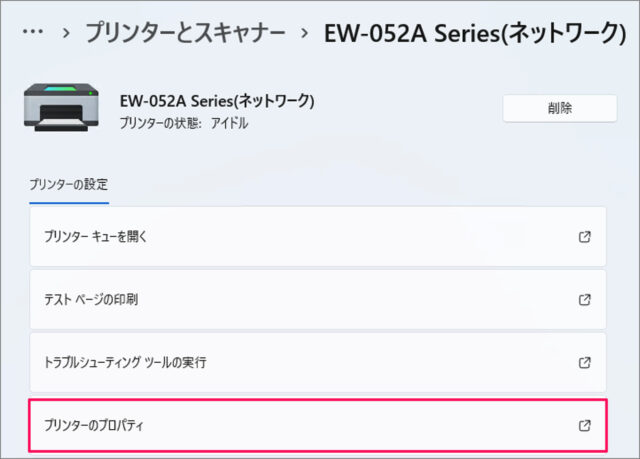
[プリンターのプロパティ] を選択する

-
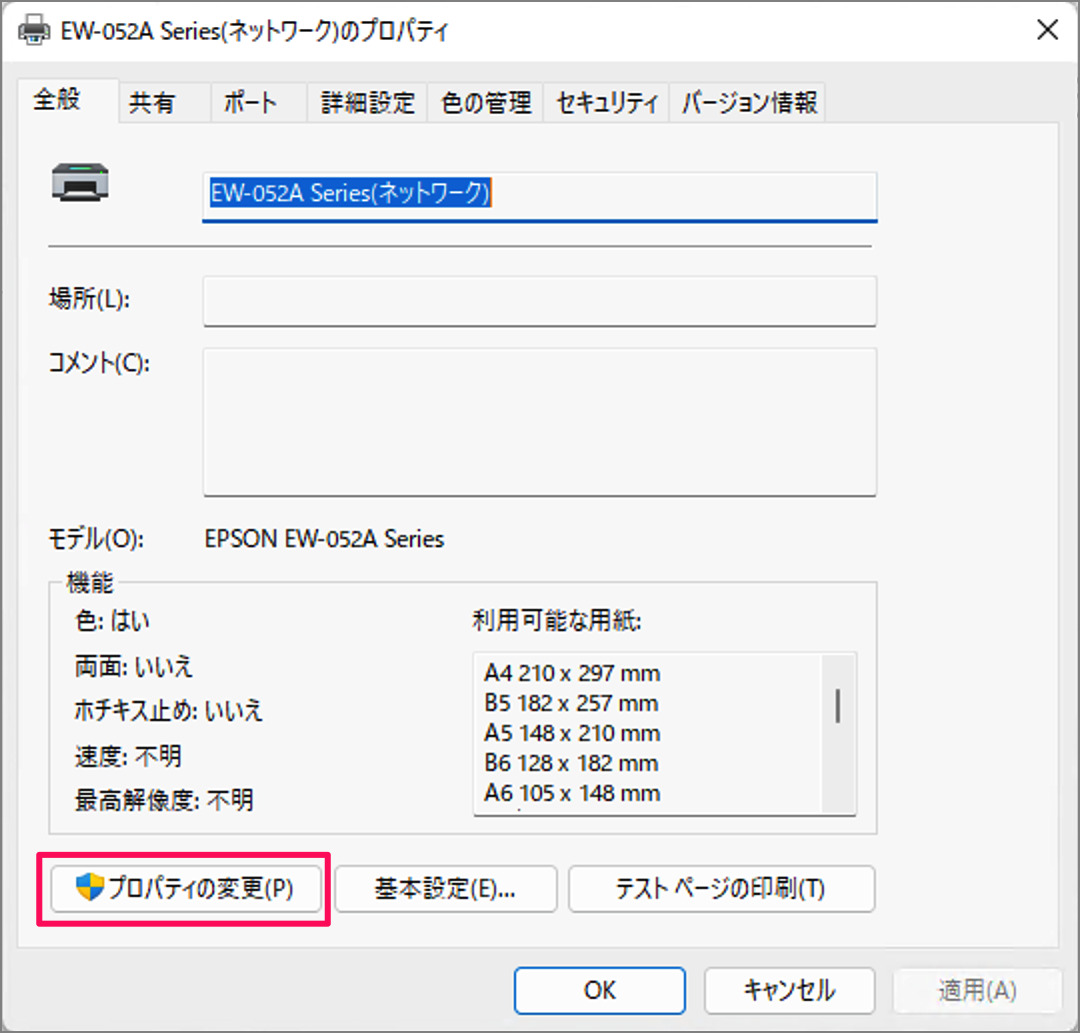
[プロパティの変更] をクリックする

※ [プロパティの変更] をクリックすると、プリンターの名前を変更できるようになります。 -
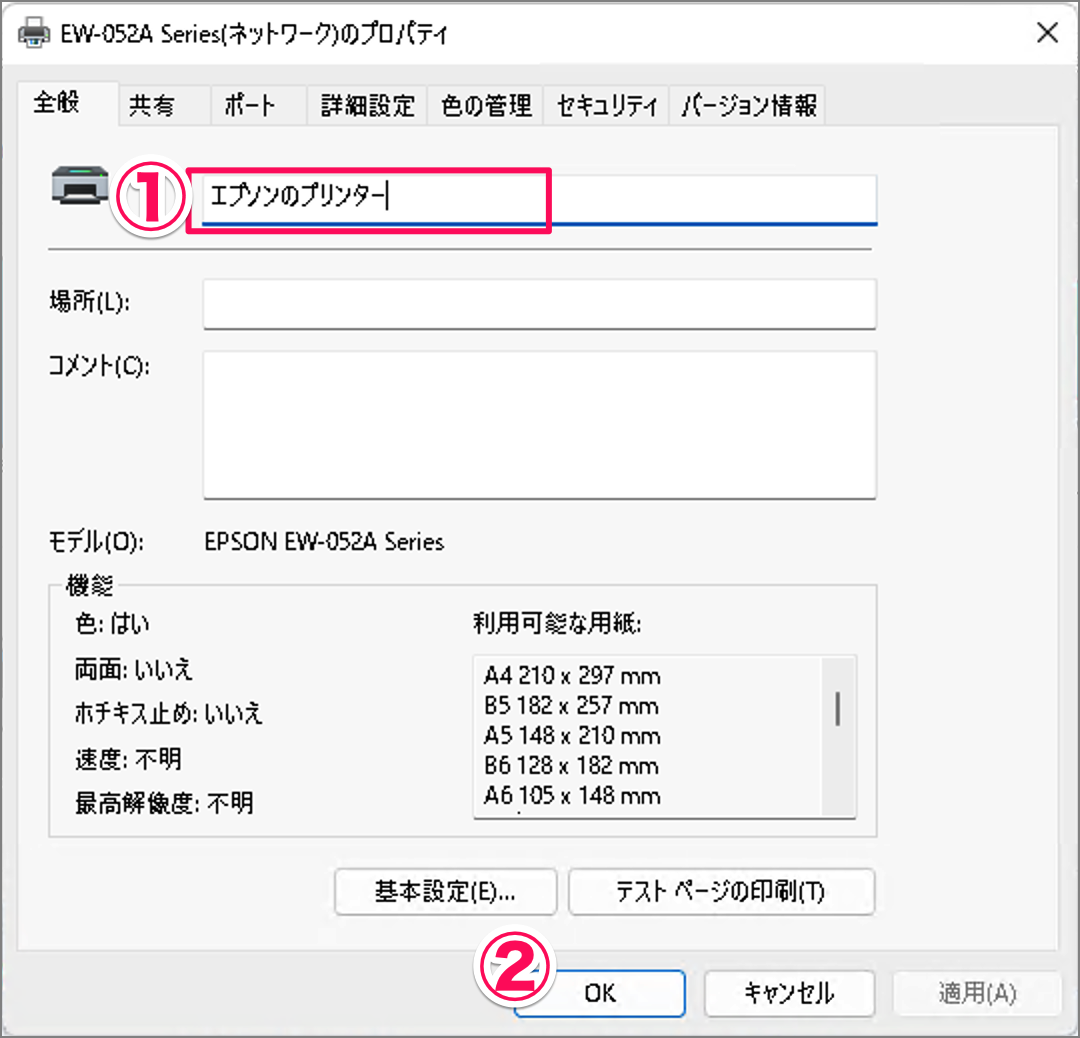
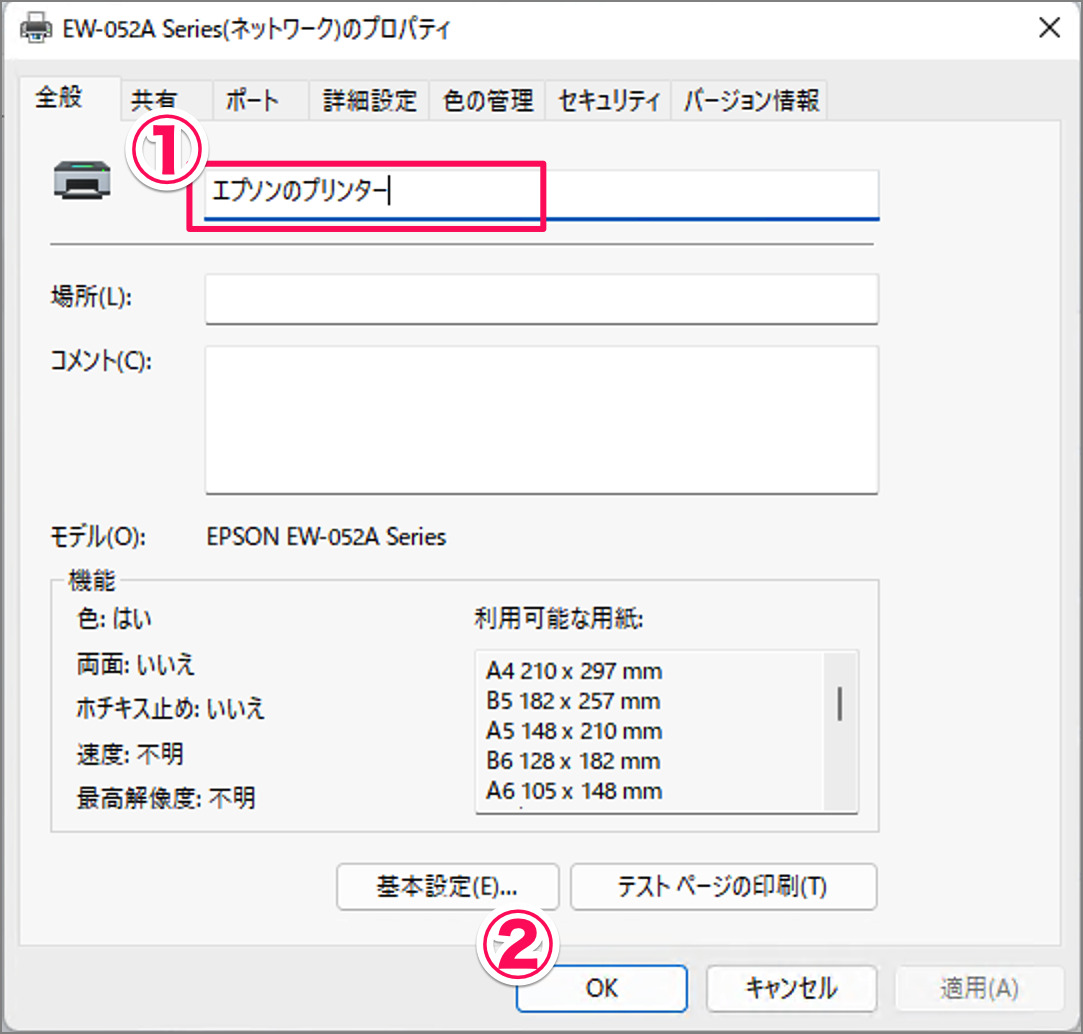
[プリンター] の名前を変更する
- [プリンター] の名前を変更し
- [OK] をクリックします。
プリンターの名前は、コントロールパネルでも変更することができます。引き続きご覧ください。
コントロールパネルでプリンターの名前を変更する方法は?
コントロールパネルでプリンターの名前を変更する方法は次の手順です。
-
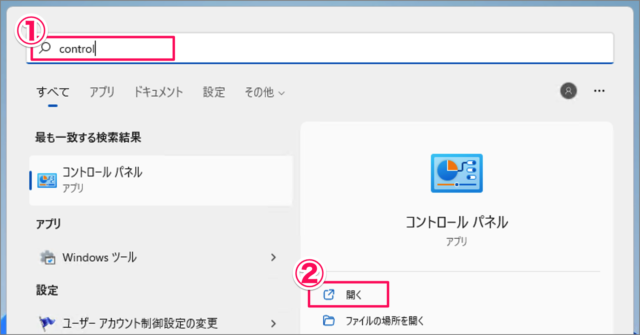
[コントロールパネル] を起動する。

- スタートメニューの検索ボックスに [control] と入力・検索し
- [コントロールパネル] を 開きましょう
-
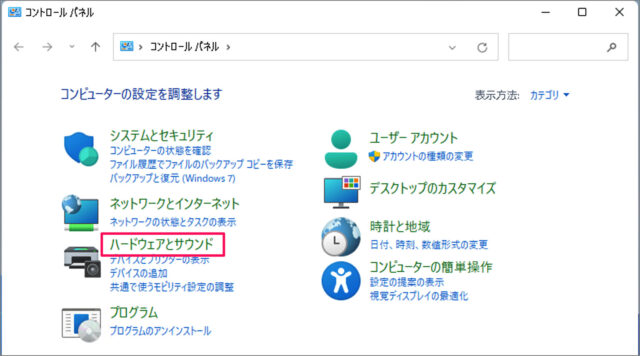
[ハードウェアとサウンド] を選択する。

-
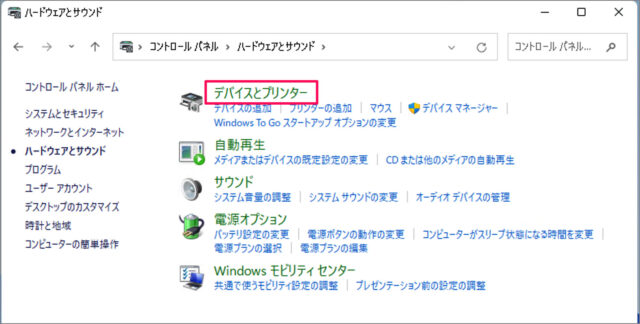
[デバイスとプリンター] を選択する。

-
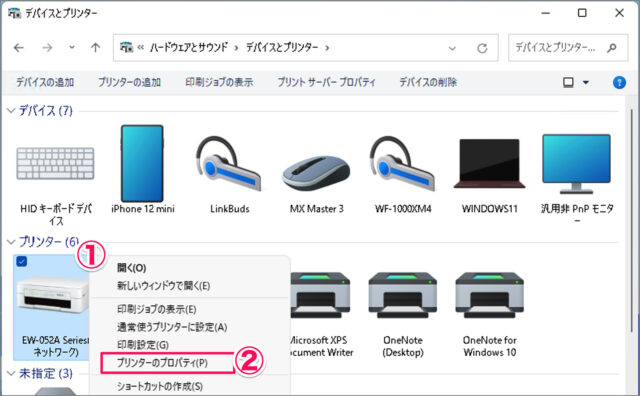
[プリンターのプロパティ] を開く。

- 名前を変更したい [プリンター] を右クリックし
- [プリンターのプロパティ] を選択します。
-
[プリンター] の名前を変更する。
- [プリンター] の名前を変更し
- [OK] をクリックします。